How to Import Data from Excel to Salesforce Easily
Many businesses use Excel spreadsheets to collect and manage data, whether it’s marketing leads, customer lists, or internal updates. While Excel is a versatile tool for data collection, managing it efficiently necessitates shifting it to a centralized system such as Salesforce.
That’s where the troubles begin. Traditional Salesforce import techniques frequently involve manual file formatting, painstaking field mapping, and the possibility of errors. Non-technical individuals may find this a time-consuming procedure. To address this gap, CloudMetic developed DataSyncX, a simple yet powerful tool designed to streamline how data moves from Excel into Salesforce.
Why Excel to Salesforce Imports are Tricky
Salesforce offers native tools like the Data Import Wizard and Data Loader, but these come with limitations. They require specific file formats, offer minimal guidance for field mapping, and often lack proper error handling. For teams that regularly import data or work with custom objects, these tools can feel restrictive and overly complex.
DataSyncX was created to make this process easier for everyone, whether you are an administrator, marketer, or sales executive. The solution enables users to import Excel files into Salesforce in minutes without creating a single line of code.
How to Use the Excel Import Functionality in DataSyncX
DataSyncX offers a powerful feature that allows users to import data from Excel directly into Salesforce with ease. To get started with this functionality, follow the steps below:
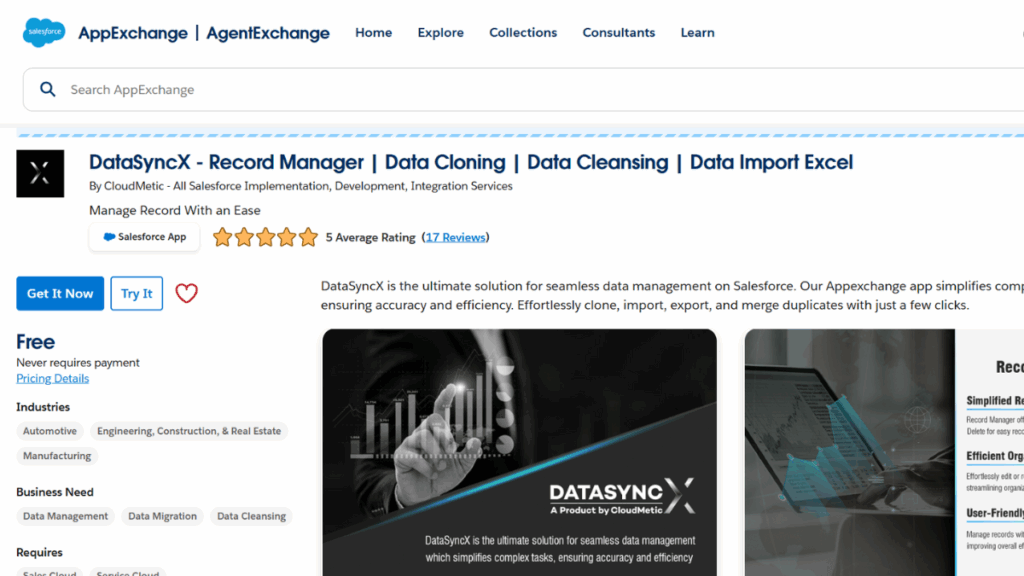
Begin by navigating to the Salesforce AppExchange. In the search bar, type “DataSyncX”, and once you find the listing, click the “Get It Now” button to install the application.
Step 2: Access the Application in Salesforce
After installation, log in to your Salesforce account. Click on the App Launcher (the grid icon or “9 dots” at the top-left corner of your dashboard) and search for DataSyncX in the search bar. Click to open the application.
Step 3: Navigate to the Excel Import Dashboard
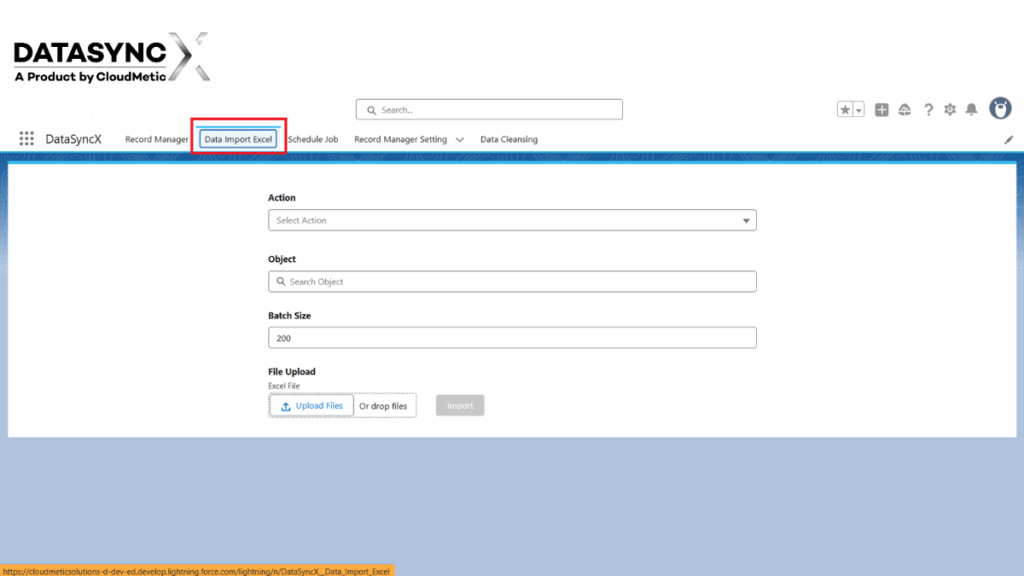
Once inside the DataSyncX dashboard, navigate to the top navigation bar where you’ll find the “Data Import Excel” tab. Click on it to access the import interface.
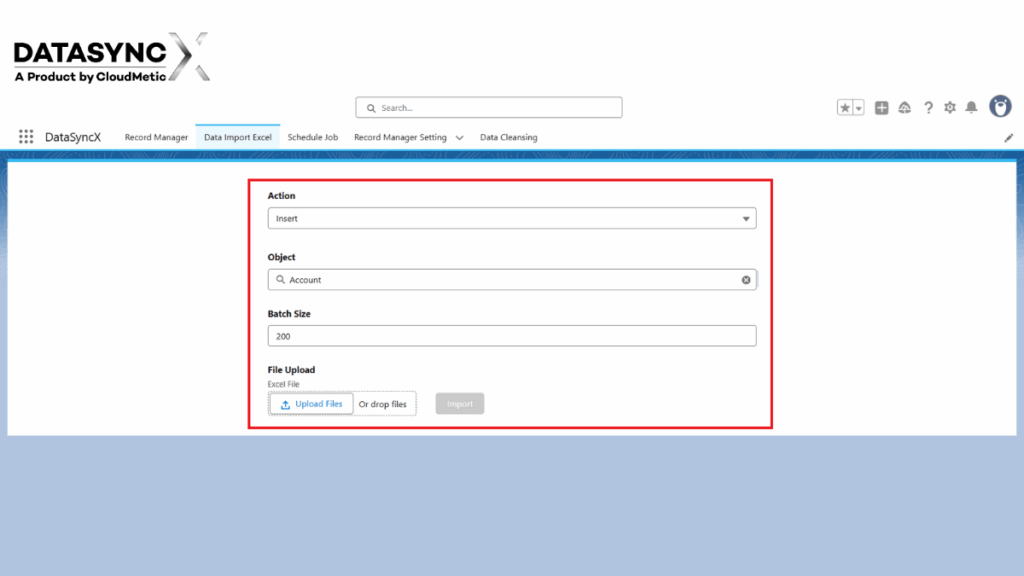
Step 4: Configure Your Import Settings
In this step, you’ll need to select the desired Action (e.g., Insert, Update), choose the Salesforce Object you want to work with, and set the appropriate Batch Size according to your data volume.
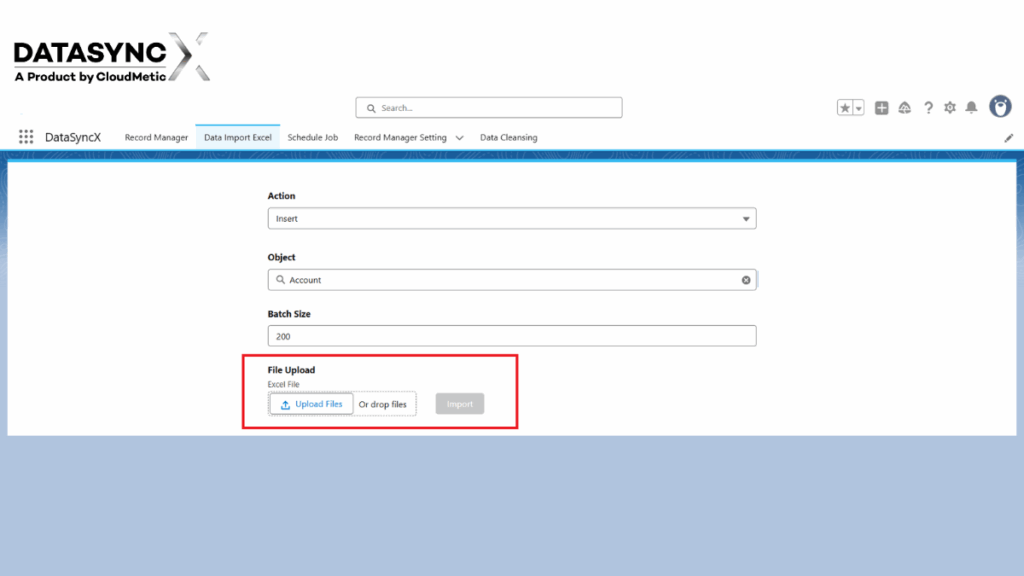
Step 5: Upload Your Excel File
Finally, click on the “Upload File” button to select your Excel file. Once uploaded, hit the “Import” button to begin the data import process.
By following these simple steps, you can streamline your data operations and make the most of Salesforce using the DataSyncX Excel Import functionality. Whether you’re handling small updates or bulk data management, DataSyncX ensures a smooth and efficient experience.
Key Features of DataSyncX at a Glance
Smart Field Mapping: Automatically matches Excel columns to Salesforce fields with the option to manually adjust mappings as needed.
Built-In Validation: Detects missing required fields, incorrect formats, and duplicates before importing, ensuring clean data.
Quick and Accurate Imports: Imports data into Salesforce within seconds and provides a summary of successful and skipped records.
Reusable Templates: Allows users to save field mappings for recurring import tasks, saving time and improving consistency.
Supports All Objects: Compatible with both standard and custom Salesforce objects, offering flexibility for all types of teams and use cases.
Conclusion
With DataSyncX, you can quickly and easily import Excel data into Salesforce. It streamlines the process, assures clear records, and saves teams time—no technical knowledge required.